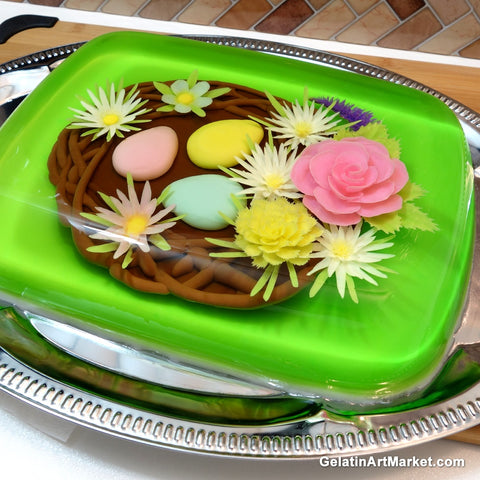
Start this cake by drawing several flowers in an oval formation.
If you haven't drawn flowers in jelly before, visit our instructions page or take our free online class here.
Heat up a large melting tool and melt three egg-shaped holes between the flowers.

Use a napkin to soak up the excess gelatin from the hole and reinsert the hot melting tool multiple times.
When you reach the desired size, fill the hole with fresh color base.
Use a cutting tool to cut branch-like lines around the eggs and flowers.
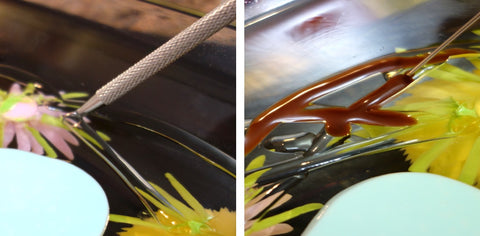
Fill the lines with cocoa color base but don't let the lines overflow. It is better to have less filling within the branch than to have an overflow of color.
Once the branches are filled in, use a slightly darker cocoa color base and fill the nest background. Use a bit more cocoa to make the color darker or add a few drops of black food coloring.

Carefully fill in the area alongside the nest edge and allow the color base to stiffen up for a few seconds. Once the edge is established, you can fill in the center area more quickly.
If some of the color base spills outside of the nest, wait for it to harden up and then gently peal it of. If you try to wipe it off while it is still liquid, you may make the problem worse and cause more color base to flow out in the same area.
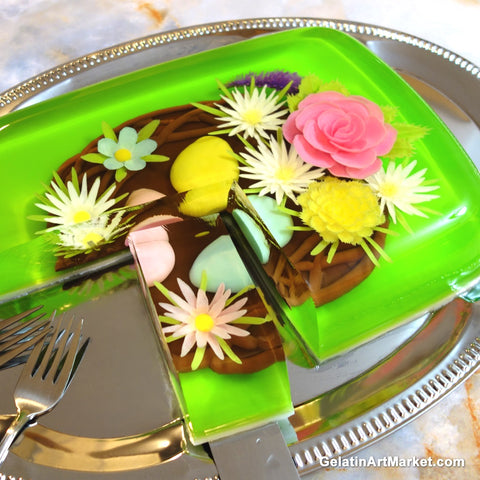
At this point, the nest is complete. You can choose to serve it as it is or add a nice contrasting background and some mousse at the bottom.
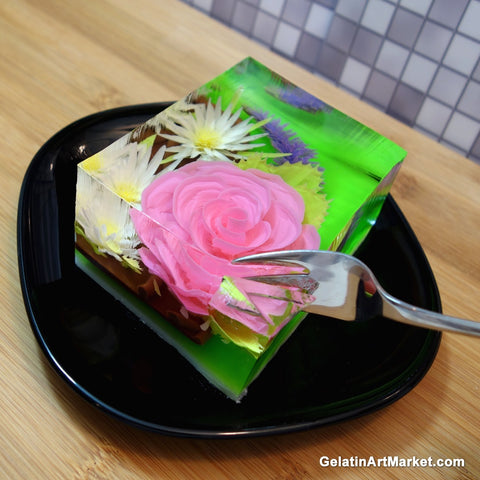
To learn more about Gelatin Art, visit our instructions page here.
To purchase high quality gelatin or our easy-to-use starter kit for beginners, visit our online store.
