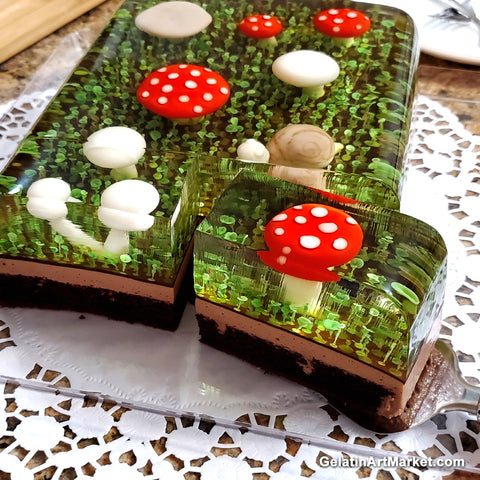
This jelly cake is easy to make even if you don't have any drawing skills. Just follow the step-by-step instructions below and you will have a wonderful spring dessert to entertain your family and make all your social media friends jealous.
To learn the basics of gelatin art, you can visit our instructions page or watch our online class here.
Process:
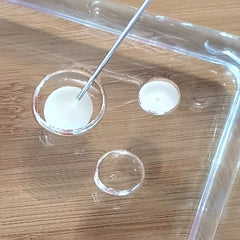
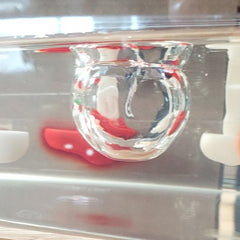
Start by making some clear gelatin and pouring a thin layer into a flat container. The amount of clear gelatin needed will depend on the size of your dish.

Leave the container in the fridge for a few hours and allow the first layer to set completely before continuing.
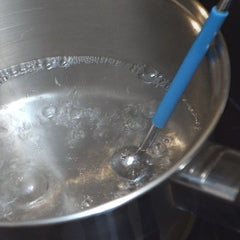
When the first layer is ready, put a little bit of water into a sauce pan and heat it up on the stove. When the water begins to boil, turn the heat down to maintain the temperature and leave the pan on the stove.
Place the melting tool into the boiling water for a few seconds to warm it up.
(Note: Melting tools are not a part of the Gelatin Art Starter Kit and are available for purchase separately.)
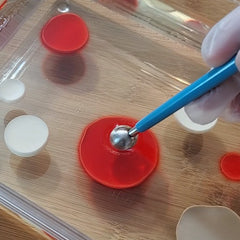
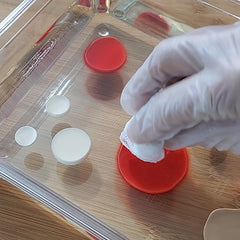
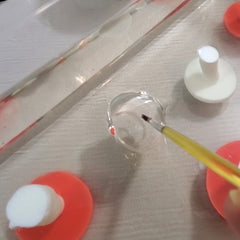
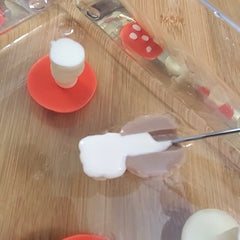
Melt several mushroom top shapes in gelatin and scoop the excess from the hole with a napkin.

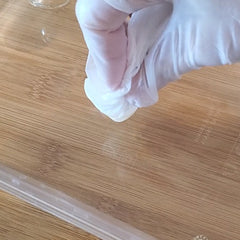
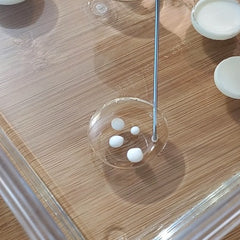
Place the melting tool back into the pan to warm up again and repeat the melting process. It will take several takes to create larger mushroom tops. You can use two tools intermittently to speed up the process.
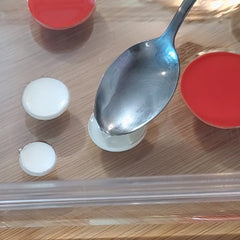
You can scoop up some melted gelatin with a small spoon. You will need it later to seal the mushroom dots.
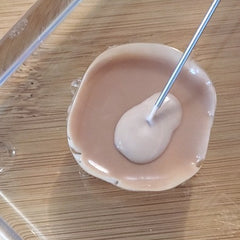
When the mushroom tops have been created, prepare the cream base and fill the white mushroom tops. Leave a few millimeters of space empty at the top.
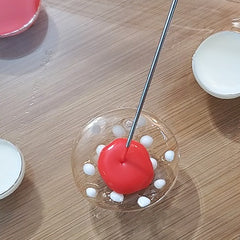
Place a few dots of white color base in the red mushroom top hole using a syringe. Make the dots large as the red color spreads fast. Tiny white dots will turn red before the cake is finished.
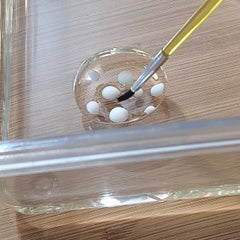
Seal the dots with a thin layer of melted clear gelatin to keep them in place. Pop all air bubbles that appear in the process.
Let the clear gelatin set before you pour the red color in. You can prepare the brown mushroom tops while you wait.
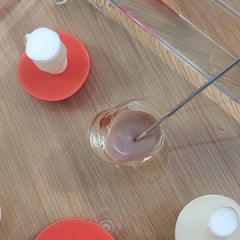
To create brown mushrooms, prepare the cocoa color base. You need only a few drops of it for the mushroom, but you will need more later to cover the dessert background.
Mix two brown colors using white and cocoa color bases. You need a very small amount of the darker one to create the top of the brown mushroom.
Spread the darker color in the mushroom top and wait for a few minutes for it to stiffen up. Pour the lighter color on top of the darker one. Leave some of the lighter color to use for the mushroom stem later.
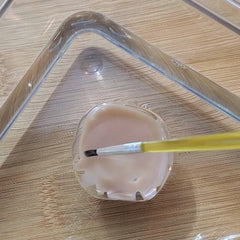
When the clear gelatin seal has set on the red mushroom tops, mix some red food coloring with the white color base and fill the mushroom tops with a syringe. Leave a few millimeters of space at the top.
If you don't like to use a lot of food coloring, you can make lighter shades of pink or green to make interesting mushrooms. You can also fill the top with cocoa base to make chocolate mushrooms.
Leave the dessert in the fridge to cool down while you prepare more clear gelatin. Pour a little bit of clear gelatin into a small container and cool it down in the fridge or in cold water. Use this clear gelatin to seal the mushroom top holes.
By placing this thin layer of gelatin onto the mushroom top, you will prevent the color from melting and spreading in the dessert when the next layer of gelatin is added.
Place the dessert in the fridge to allow the seal to harden up.
When the seal is set, check the temperature of the fresh clear gelatin. The temperature should be warm, but not hot. If the gelatin has cooled down too much, warm it up before use. Cold gelatin layers will not meld together and will separate when the cake is being cut or while the dessert is being worked on.
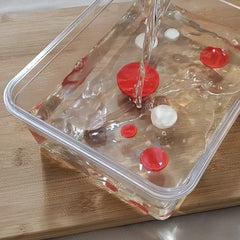
Pour the second layer of gelatin into the container and leave it in the fridge for a few hours to set completely.
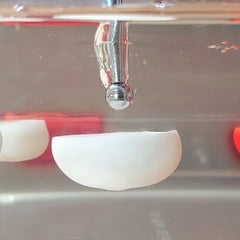
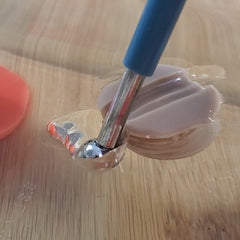
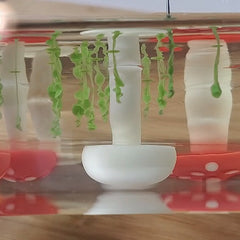
When the second layer of gelatin is ready. Melt the mushroom stems using hot melting tools and scoop up the excess liquid with a an absorbent napkin.
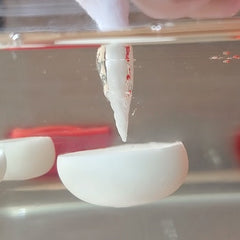
Do not push the melting tool too hard. Allow it to rest on gelatin and melt it slowly. It will take a few attempts to melt the whole stem.
Use small melting tools to create thin stems. Twist the napkin into a pointy tip to scoop up the excess liquid from the stem opening.
When all the stems are done, warm up the remaining color base in warm water and fill the stems using a syringe.

To create a snail, melt a round hole in gelatin first. Try to make subtle spiral using smaller tools.
Melt a tiny piece of the cocoa base and draw lines on the snail house.
Fill the snail hole with a mixture of white and coca color bases.
Melt a small hole next to the snail house to create a snail head. Use the smallest tool to shape the tentacles if you choose.
Fill the snail head and body with a light color base.
When all the shapes are finished, prepare three shades of green color.
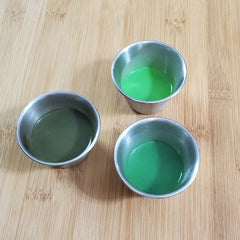
To create darker shades, you can mix cocoa color base with white before you add green food coloring.
Use a blunt tip needle to create green sprouts around the mushrooms.
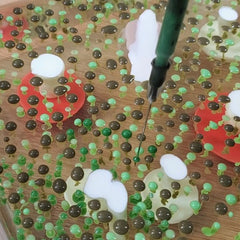
Use all three colors to create an interesting pattern on the bottom. Leave the excess dots on the surface. They will help create a more complex pattern.
Melt the leftover cocoa base, pour it over the dessert bottom and leave the dessert in the fridge to cool.
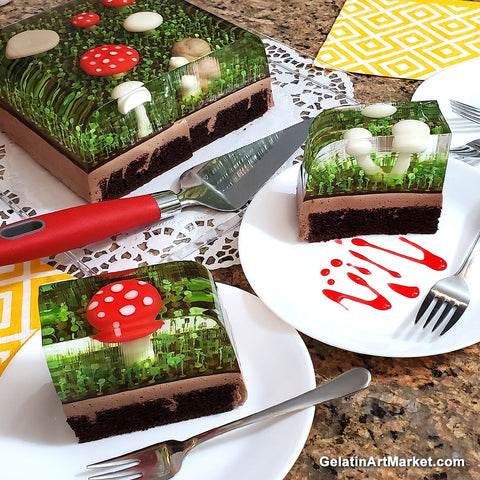
At this point, you can serve the dessert as it is or place it on another cake.
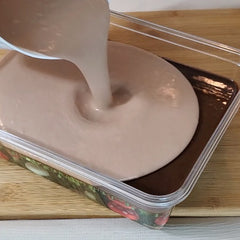
To create a cake it the same container, prepare a layer of mousse using the basic cream mousse recipe. Add a tablespoon of cocoa to the milk and sugar mixture.
Have the cake pastry cut to size and ready. Mousse will thicken up fast, have everything prepared so that you can act quickly when the mousse is done.
Pour the mousse into the container and place the pastry on top. Allow the mousse to flow around the cake pastry and cover the pastry sides.
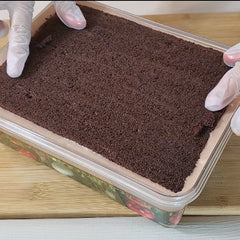
Leave the cake in the fridge to cool down completely and for the mousse to stiffen up.
When the cake is ready, take it out of the container by placing it in warm water. Run a toothpick alongside the edge of the container first and then lower the container into warm water. If you are using thick containers it might take some time for the gelatin to detach from the container.
When the cake is detached from the container, cover it with a serving tray and turn them both upside down.
If there are mousse smudges left on the top of your gelatin dessert, wash them off right away with a little bit of cold water.
Wipe away all excess gelatin with plenty of warm water. Gelatin is very sticky when it dries. It is better to clean everything immediately then to have to deal with a sticky mess later.
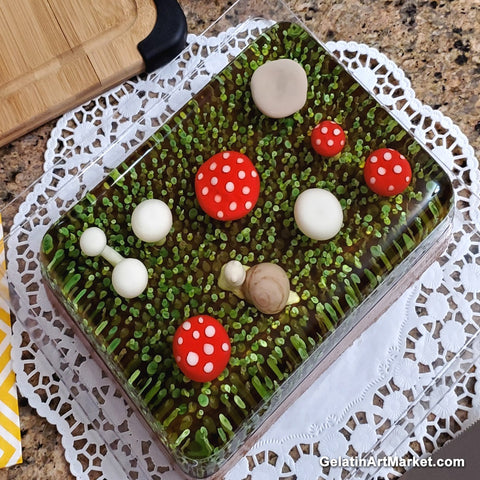
Your dessert is ready to be served! We hope you had fun creating mushrooms in gelatin. Remember, it doesn't have to look prefect to taste delicious. The important part is to have a good time and to have a tasty treat at the end.
This video shows the process of creating this cake:
To learn more about Gelatin Art, visit our instructions page here.
To purchase high quality gelatin or our easy-to-use starter kit for beginners, visit our online store.